GoodBarber's Online Help
Give your customers access to their app
Giving your client access to their app's back office will eliminate the need for them to contact you each time they want to send a push notification, upload a new photo, etc... This will save you a lot of time and effort.
Create an account ID for your client
1. Go to the back office of the specific project you want to give access to
2. Go to the left swipe menu Settings > Other settings > Team
You see yourself listed and labeled as "Administrator, Website owner"
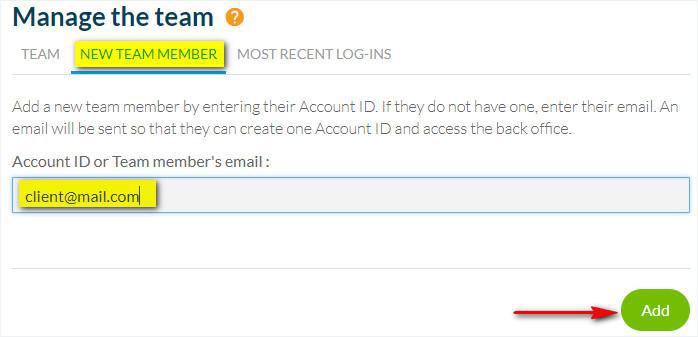
3. Click "New team member" Tab
4. Fill in your client's email address
5. Click "Add"

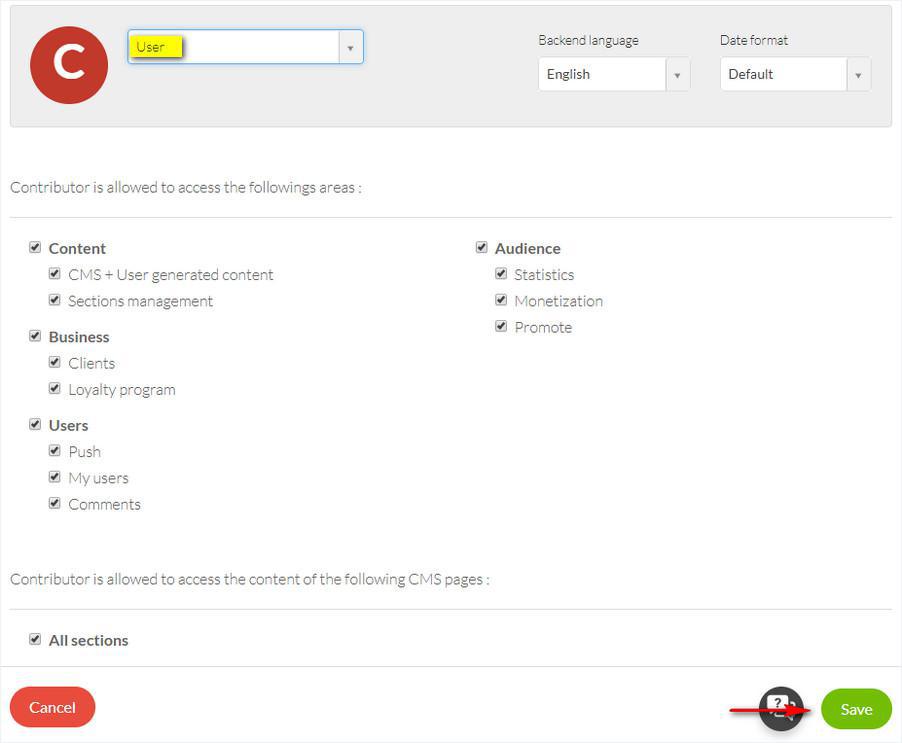
6. Select User (Administrator is meant for other members of your agency).
By default, the only parts of the back office Users have access to are Content, Business, Users, and Audience, but you can implement further restrictions if you want.
7.Click "Save" at the bottom of the page.

Your client will receive an invitation email with a link to create their login credentials (account ID) to have access to their app's back office.
Once it is complete, they will have access to whichever parts of the back office you have allowed them.
Please read this Online Help for instructions on how to brand your back office with your own logo.
 Design