GoodBarber's Online Help
Section design
While a default style is applied globally across your app, you can customize the design of individual sections to modify specific elements like colors, fonts, and backgrounds.
To edit a single section's style:
1. Go to the menu My App > Structure . The list of all your sections will be displayed in the right-hand column.
2. In that column, click the section you want to edit.
See the example below if you wish to edit the design of the section "CMS Article"
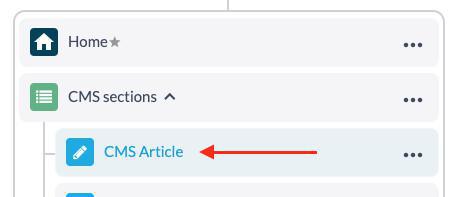
Content section's design
Warning: the design settings available will vary depending on the section type you are editing.
This guide uses a CMS Article section as an example. You can separately customize the design for the two main components of this section:
- The List of articles, which displays all the items in the section.
- The Article page, which is the detailed view of a single item.
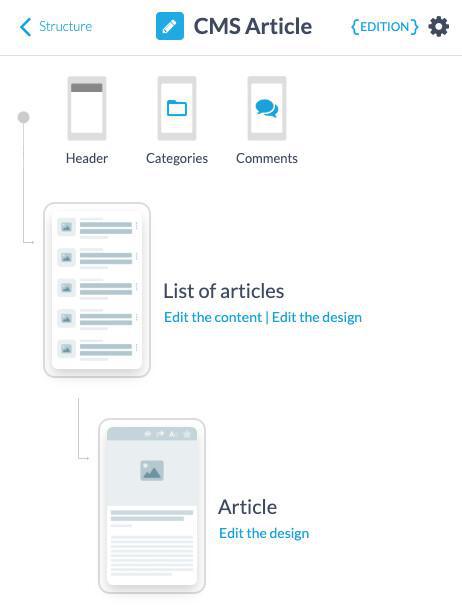
1. Click the "Edit the design" link for the part of the section you wish to customize, whether it's the "List of articles" or the "Article" page.
2. Configure the different options available, detailed below:
TEMPLATE
- Your template is clearly identified with a green icon
- Browse the different templates by using the arrows to select a new one
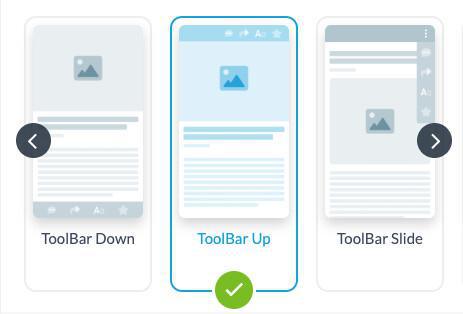
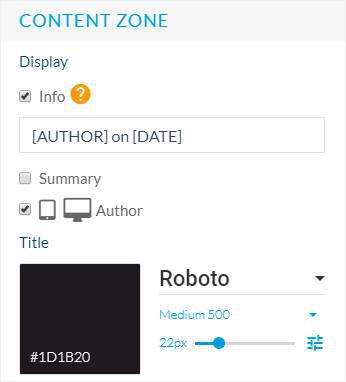
CONTENT
- Set the background color, font and text colors, content alignment etc. of your section
- Edit thetextand tokens that will be displayed in the Info settings on the list page, for instance
- Display the Author, summary when the option is available
TOOLBAR
- Select the actions to display in the toolbar of your detailed article page, the colors of the icons etc.
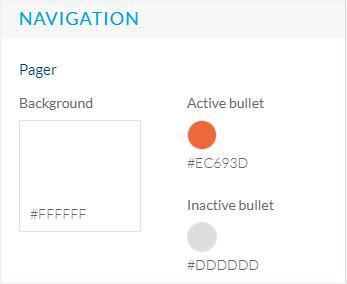
NAVIGATION
- Edit the Pager design settings*
THUMBNAIL
- Add a default thumbnail to display on your list page when there isn't one in your article
*option not available on all templates
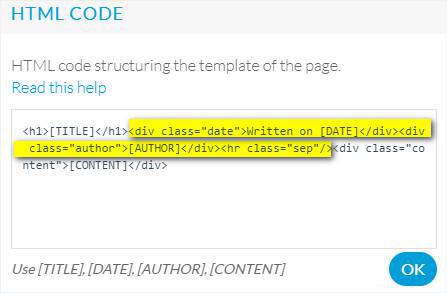
HTML CODE*
- Edit the tokens and the text: delete, for instance, the date and author information:
Delete the small part of code corresponding to this information.
*Not available when using the template 4 for your detailed page.
Menu section's design
If you use a multi-level navigation system in your app, to configure the design of your Menu section:
1. Go to the menu My App > Structure
2. Click the Menu section you want to edit.
3. Click "Edit the design"
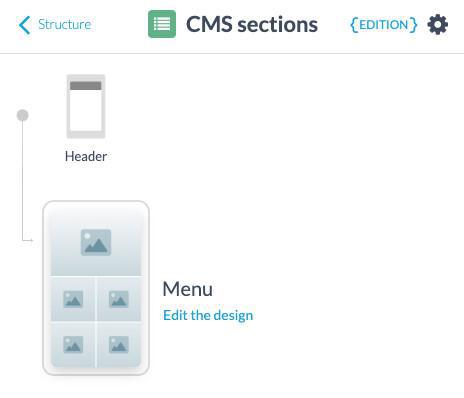
4. Select the menu section's template
5. Use the settings available to configure the design (background images, effect, fonts, colors, icons, etc.)
Specific Header
Edit the design of the header for a specific section*.
1. Go to the menu My App > Structure
2. Click the section you want to edit.
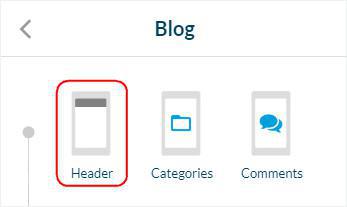
3. Click "Header"
4. Click "Modify the header of this section"
*The configuration of the settings works the same as for the general header .
To go back to the default settings and apply the design of the general header:
1. Go to the menu My App > Structure
2. Click the section you want to edit.
3. Click "Header"
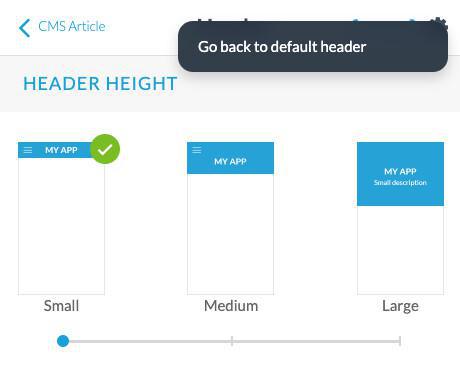
4. Click the gear icon in this specific header's settings
5. Click "Go back to default header"
Video tutorial
Note: Menus have changed in the back office, but the behavior explained in the video is still accurate.
 Design