GoodBarber's Online Help
Connect your app to Zapier and automate operations
With the Zapier extension, you have the possibility to connect your app to thousands of other online services. It's the perfect extension to set up automations without the need to code.
Zapier is a no-code tool that you can use to connect apps and automate different tasks.
It allows you to integrate your apps and then tell Zapier what you want to accomplish. All that without having to write a single line of code.
General knowledge
Before getting started, here are a few terms you need to know:
A Zap is an automated workflow that tells your apps to follow this simple command: "When this happens, do that."
It's a series of instructions that you define in Zapier to perform predefined tasks.
Triggers are basically events within a software that initiates a workflow. The trigger sends a set of information to Zapier. This information can be used in zaps to perform actions in other online services that are also connected to Zapier.
The action is whatever steps the Zap takes. For example, every time a line is edited in a Google Sheet, a zap updates your users details.
A Task is how Zapier tracks your actions. This matters when choosing your plans.
Every action your Zap successfully completes is called a task. Tasks are always associated with successful actions. For example, your zap add new users in a specific group of your app GoodBarber.
Zapier has their own online helps . If you don't find what you're looking for, you can also get help here .
List of automation possible with GoodBarber Classic apps
List of GoodBarber triggers that can be used in a zap:
- creation of a new user (Authentication extension)
- New active Subscriber (In App Purchase extension)*
- New prospect (In App Purchase extension)
- New expired subscriber (In App Purchase extension)*
*If the app admin gifts a subscription to one of his users, a New Active Subscriber webhook is also triggered.
If the app admin deletes the gift, a New Expired Subscriber webhook is also triggered.
List of GoodBarber actions that can be used in a zap:
- Send a push notification
- Search for a user (Authentication extension)
- Search for a group (Authentication extension)
- Add a user to a group (Authentication extension)
- Remove a user from a group (Authentication extension)
- Create an internal subscription (In App Purchase extension)
- Update Note for Active Subscriber (In App Purchase extension)
- Update Note for Expired Subscriber (In App Purchase extension)
- Update Note for Prospect (In App Purchase extension)
- Update Expiration Date for Internal Subscription (In App Purchase extension)
- Find an Active Subscriber (In App Purchase extension)
- Find an Expired Subscriber (In App Purchase extension)
- Find a prospect (In App Purchase extension)
Create an account Zapier
To use Zapier, you first need to create an account : https://zapier.com/*
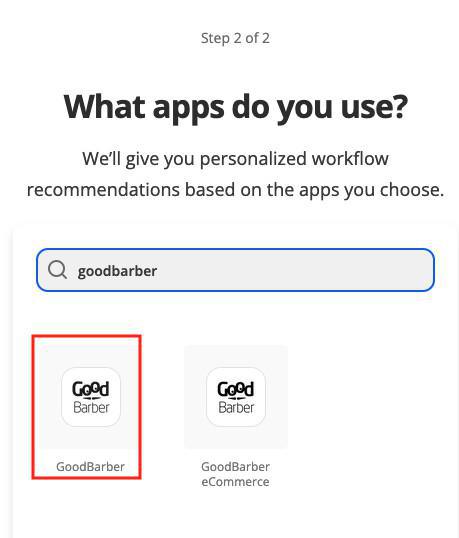
- When you create your account, search for "GoodBarber to" add your app
- You can also add other apps you'd like to use with Zapier
*Zapier has different plans , including a free plan that includes 5 single steps zaps (1 trigger and 1 action per zap) for instance.
Activate the Zapier extension on your GoodBarber back office
1. Select Zapier extension from the Extensions Store in your back office GoodBarber and add it to your app
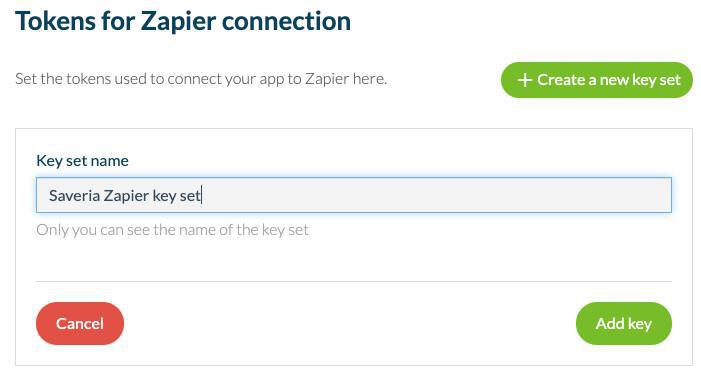
2. Set the tokens used to connect your app to Zapier (see example below):
- Click "Create a new key set"
- Fill in a name for your key set
- Click "Add key"
A new key is created.
3. Click "View details" and keep this tab open (you'll need the app ID and key later on).
Add a connection between Zapier and your app GoodBarber
1. From Zapier platform, open the menu "My apps " on the left menu
2. Click "Add connection", "search for "Goodbarber"
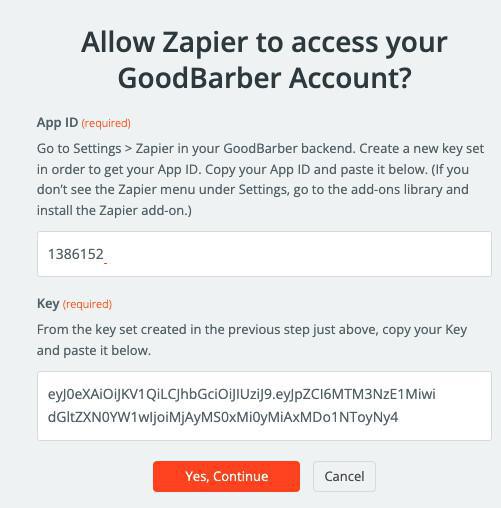
3. Copy your App ID and Key from the menu Settings > Zapier in GoodBarber back office and paste them on Zapier platform (see example below).
4. Click "Yes continue"
Your app GoodBarber is now connected to Zapier, you can start automating some of the tasks you have to do frequently with Zapier.
Example - Set zap to add automatically new users of your app to a specific group
With Zapier, you can set a zap that adds every new user registration (trigger) to one specific user group (action).
On Zapier platform, go to the menu "Zaps "and click "Create zap" to create new zaps.
A/ Each zap starts by a trigger, in this example we want to use the trigger New User, meaning an action will be triggered when a new user is added to our GB app.
Trigger settings
1. Select the trigger "GoodBarber"
2. Select the trigger Event "New User" and click "Continue"
3. Select your GoodBarber account and click "Continue"
4. Click "Test trigger" and click "Continue"
B/ To add new users to a specific group, you need to retrieve the Group user ID:
Set an action in a zap to Find a group:
1. Select "GoodBarber" App
2. Select the action event "Find a group" and click "Continue"
3. Select your GoodBarber account and click "Continue"
4. Type in the group name* you want to put your new users in, in the field Group name of Zapier and click "Continue"
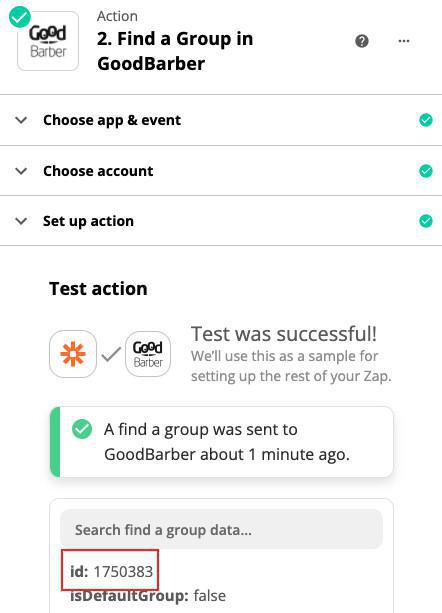
5. Click "Test & Continue" to get your Group ID as shown in the example below:
Once you have retrieved your Group ID and saved its reference somewhere safe, for this specific example you can delete this action.
*If you need the Group ID of your default user group, always use "default" as the group name.
C/ Set an action in a zap to add each new user to a specific group
Set an action in a zap to Add User to Group
1. Add an action to your zap
2. Select "GoodBarber" App
3. Select the action event "Add User to Group" and click "Continue"
4. Select your GoodBarber account and click "Continue"
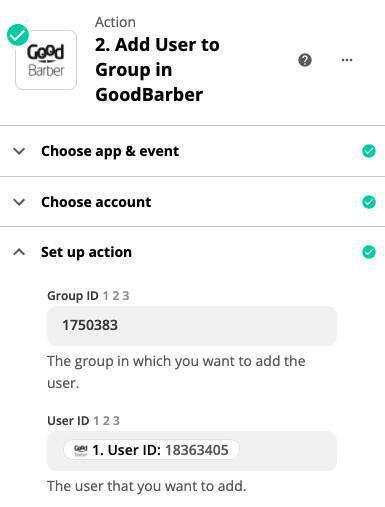
5. Set up the action:
- Group ID:
Type in directly the Group ID reference you got when setting Action 2. Find a Group in GoodBarber
-User ID:
Select the trigger 1. New User in GoodBarber > 1. User ID
It means every time a new user is added (trigger 1), this user will be added to the group you've selected, see example below.
5. Click "Test & Continue"
Don't forget to turn on the zap.

 Design