GoodBarber's Online Help
Android - Personal Google Play Developer account - First publication of your app in Google Play
Test your app and validate it for submission
The process below is the Solo process, meaning you're the one in charge of submitting your app to the Google Play store.
If you'd rather our team take care of it, you can subscribe to the GoodBarber Takes Care Service .
Solo Mode:
You have generated the native Android application and tested the AdHoc version on your Android device.
Go to the menu Publish > Android App > Publish
When your changes are done, come back to this page and recompile your app. Wait until it's Ready again.
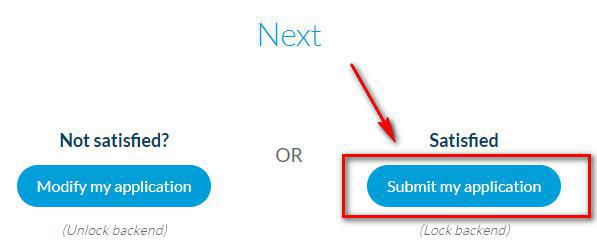
- To continue and submit your app to Google Play, click on Submit my app.
Note: At this point, if you have not subscribed to GoodBarber yet, you will be asked to select a subscription plan before being able to move forward.
Download the AAB file
After clicking on Submit my app, you will land on the page "Submission to Google Play".
1. Click "Retrieve my .aab file" to download the binary file of your Android app.
2. Save the file where you can easily find it later.

Select your app in your Google Play console
1. Login to your Google Play console
2. Select your app
Set up your Store presence
Your app's store listing is displayed on Google Play and includes details that help users learn more about your app.
Note: Only the mandatory information will be mentioned in this online help, the rest is optional.
A. Go to Menu Grow users > Store Presence > Store listing
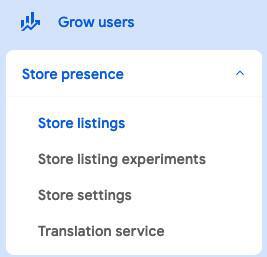
1. Click "Create default store listing"
2. Fill in the App details (App name, Short description, and Full description)
More details on Google's documentation .
3. Upload your Graphics:
- App icon: your app icon is shown on Google Play. This doesn’t replace your app’s launcher icon.
512 px by 512 px
- Feature graphic: Shown at the top of your store listing. May also be used to promote your app in other places on Google Play.
1,024 px by 500 px
- Phone screenshots: Upload between 2 and 8 phone screenshots
Between 320 px and 3,840 px
- 7-inch tablet screenshots: Upload up to 8 7-inch tablet screenshots
Between 320 px and 3,840 px
-10-inch tablet screenshots: Upload up to 8 10-inch tablet screenshots
Between 320 px and 3,840 px
More details on Google's documentation .
4. Click "Save"
B. Go to Menu Grow users > Store Presence > Store settings
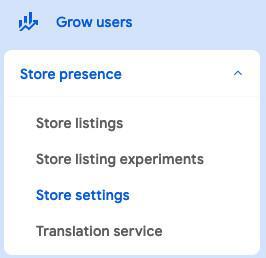
Manage how your app is organized on Google Play, and how users can contact you.
1. App Category > Click "Edit"
App or Game: Select "App"
Category: select the category of your app, and its main topic (News, Lifestyle, Entertainment,...).
2. Store listing contact details > Click "Edit"
This information is shown to users on Google Play (Email address is mandatory, phone number and website are optional).
3. Click "Save"
Set up your App content
Provide and manage the information Google needs to ensure that your app is safe for its intended users, is compliant with Google Play Developer Program Policies , and satisfies legal requirements.
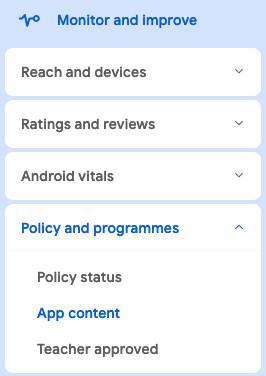
1. Open Play Console and go to the App content page (Monitor and improve > Policy and programmes > App content)
2. Follow carefully instructions of this online help
Set up your closed test track
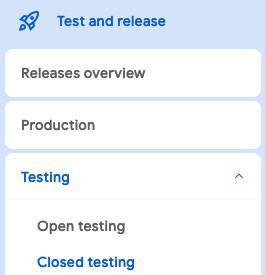
Go to the menu Test and Release > Testing > Closed testing, click Manage track next to Closed testing - Alpha
Manage the countries and regions where your app will be available
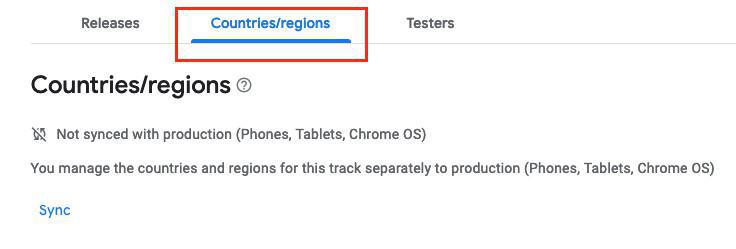
1. Select the tab "Country / regions"
2. Click "Add countries / regions"
3. Select all of them or just the countries / regions where you want your app to be available.
4. Click "Add countries / regions" and confirm in the pop up by clicking "Add"
This is the country or region where the user's Google account is registered, not their location.
Testing requirements
1. Recruit testers
Recruit at least 12 testers from your personal and professional networks (friends, family, colleagues, etc.) or relevant online communities.
Make sure they understand they must stay in the closed test for 14 days continuously.
For complete details, refer to Google documentation .
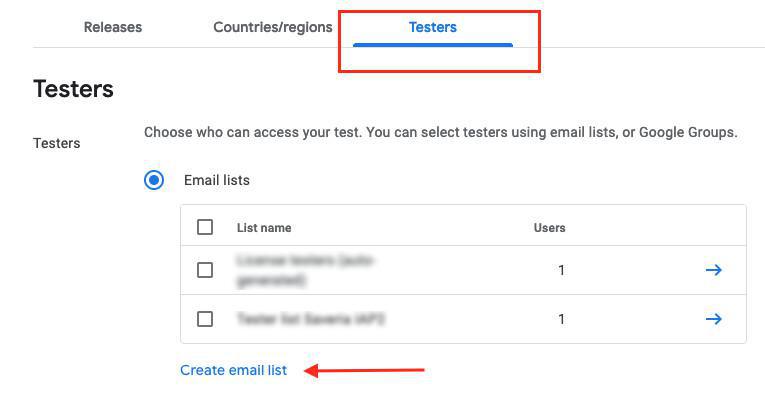
2. Select the tab "Testers"
3. Click "Create email list"
4. Add a list name and your 12 testers valid email addresses.
5. Click "Save changes"
6. Click "Create" to create the email list.
7. Fill in a Feedback URL or email address to let testers know how to provide you with feedback
8. Click "Save" at the bottom of the page.
Preview and confirm the release
1. Select the tab "Releases"
2. Click "Edit releases"
3. Click "Upload" to upload your .aab file downloaded previously from your GoodBarber back office.
4. Click "Save" at the bottom of the page.
Send the Closed Testing release to Google for review
1. Go to the menu "Publishing Overview"
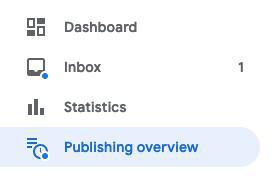
2. Send all changes for review

3. Wait for Google to review your app and allow you to start your closed testing.
Reviews are usually managed by Google within 7 days, but may take longer.
You can check the status of your app from the menu Dashboard of Google Play for this app, while in review, it will display as "Draft"
Share your Closed test app link with your testers
Once your app status changed from "Draft" to "Closed testing"
1. Go to the menu Test and Release > Testing > Closed testing, click Manage track next to Closed testing - Alpha
2. Select the tab "Testers"
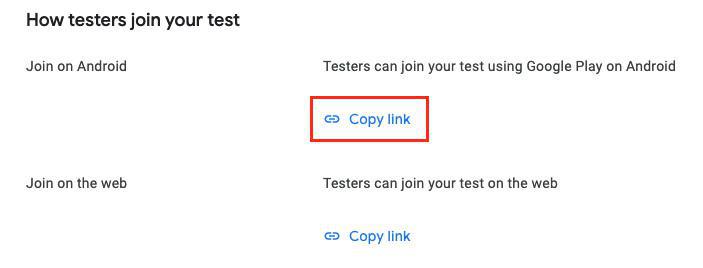
3. Share the "Join on Android" link with your testers using your preferred method (email, WhatsApp, etc.).
They can simply click the link on their Android devices to install your app closed test version and begin the 14-day test period.
Closed App testing process
1. Tester Opt-In: Testers are automatically enrolled in your closed test once they install the app.
2. 14-Day Testing Period: Ensure testers actively use your app for at least 14 days to provide comprehensive feedback.
3. Address Feedback: Promptly respond to tester feedback and resolve any issues they encounter.
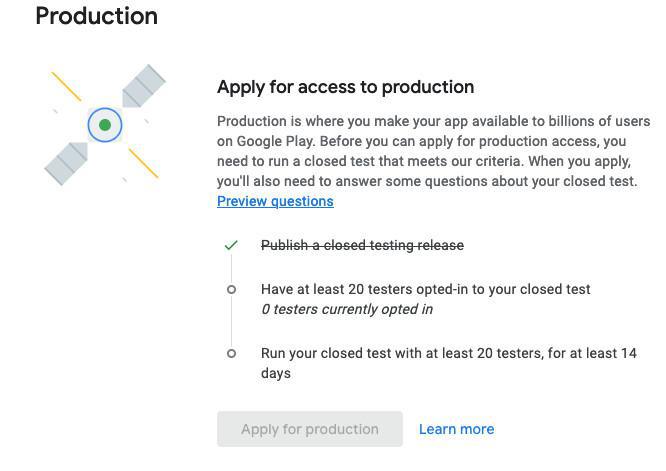
4. All items on the "Dashboard" menu checklist must be completed to apply for production release, they will be updated automatically by Google Play.
For detailed guidance, refer to Google documentation .
Apply for access to production
Once you've met the closed testing requirements, you can apply for production access.
1. Go to the Dashboard .
2. Click "Apply for production"
To apply for production access on Google Play, you'll need to fill out three parts:
- About your closed test: Explain how you recruited testers, their engagement, and the feedback you received.
This helps Google ensure your app has been properly tested.
- About your app: Describe your target audience and what makes your app unique.
This helps Google understand your app better.
- Your production readiness: Explain how you used the feedback from your closed test to improve your app and how you determined it's ready for production.
This demonstrates to Google that you've considered user feedback and are confident in your product's quality.
Google wants to make sure that your app has been thoroughly tested, that you've taken user feedback into account, and has a clear purpose before it goes live on the Play Store.
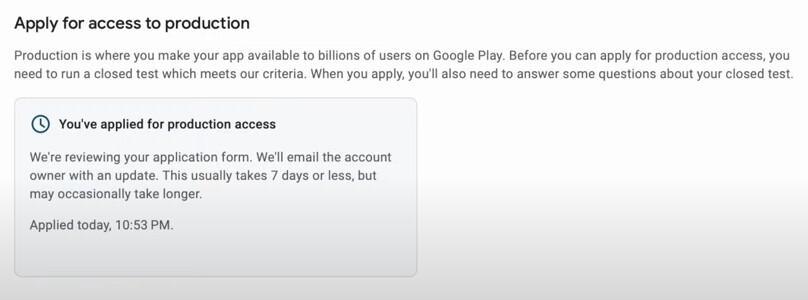
3. Google Play will then review your request for production access.
The account owner will receive an email with an update once the review is complete, usually within 7 days.
For more details, refer to Google documentation
Submit your app to production
If your application is successful, you can now submit your app to Production to make it available for all Google users.
1. Go to the menu Test and Release > Production
2. Select the tab "Releases"
3. Click "Create new release"
4. Click "Add From library" and select your latest App Bundle (the last one you used for your Closed test version)
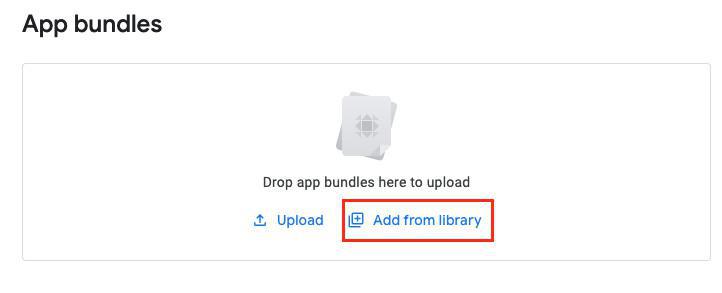
5. Click "Next" and "Save" your production release
6. Click "Go to overview"
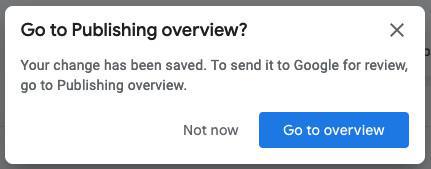
7. Send all your changes for review.

8. Google will typically review your app within 7 days, but it may take longer.
If rejected, you'll receive an email; if approved, your app will be published automatically.
You can track your app's status in the Google Play Console Dashboard.
- Android - Publication timeframe
- Android - Register for a Google Play Developer account (Mandatory)
- Android - Build your app and test the ad hoc version
- Android - Organization Google Play Developer account - First publication of your app in Google Play
- Android - Personal Google Play Developer account - First publication of your app in Google Play
- Android - Update your app in Google Play
- Android - Policy declarations about your App Content in Google Play
- Android - Find the Google Project ID using the Project Number
- Android - Distribute your app privately
- Android - Replace a published app with your new GoodBarber app
 Design